How To Draw A Flashlight
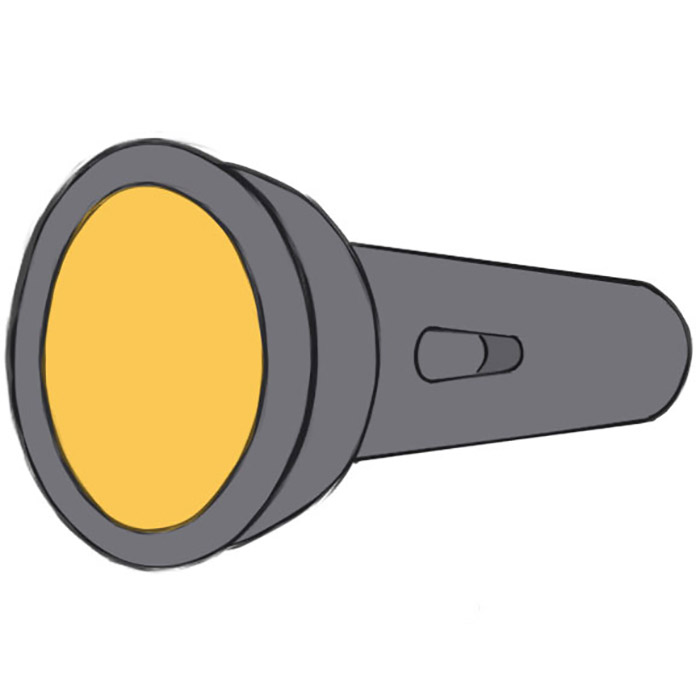
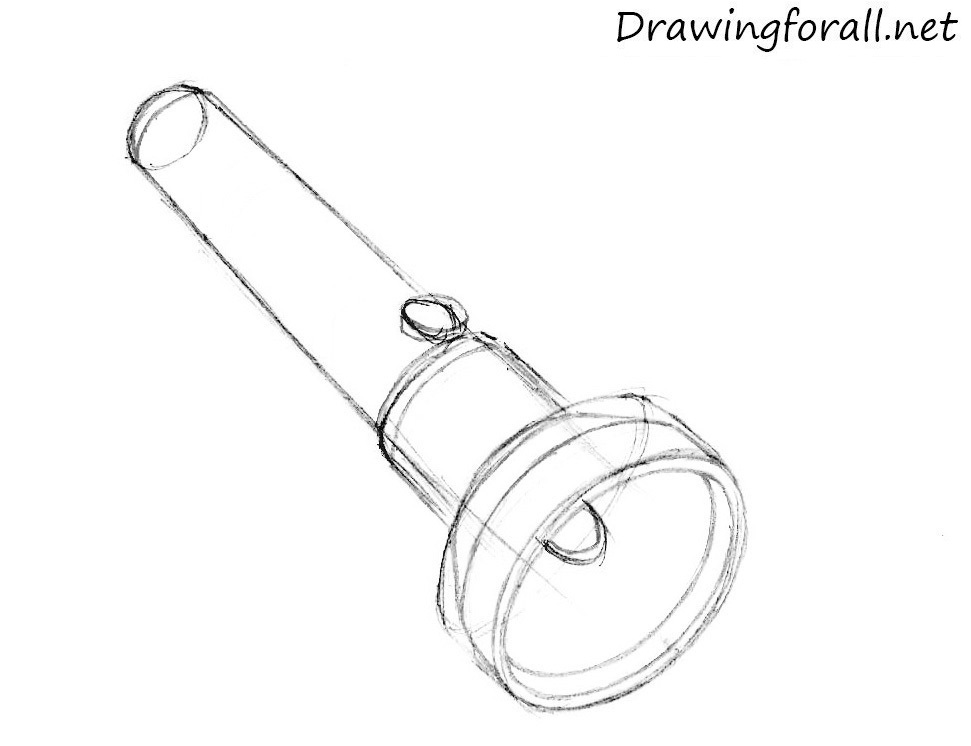
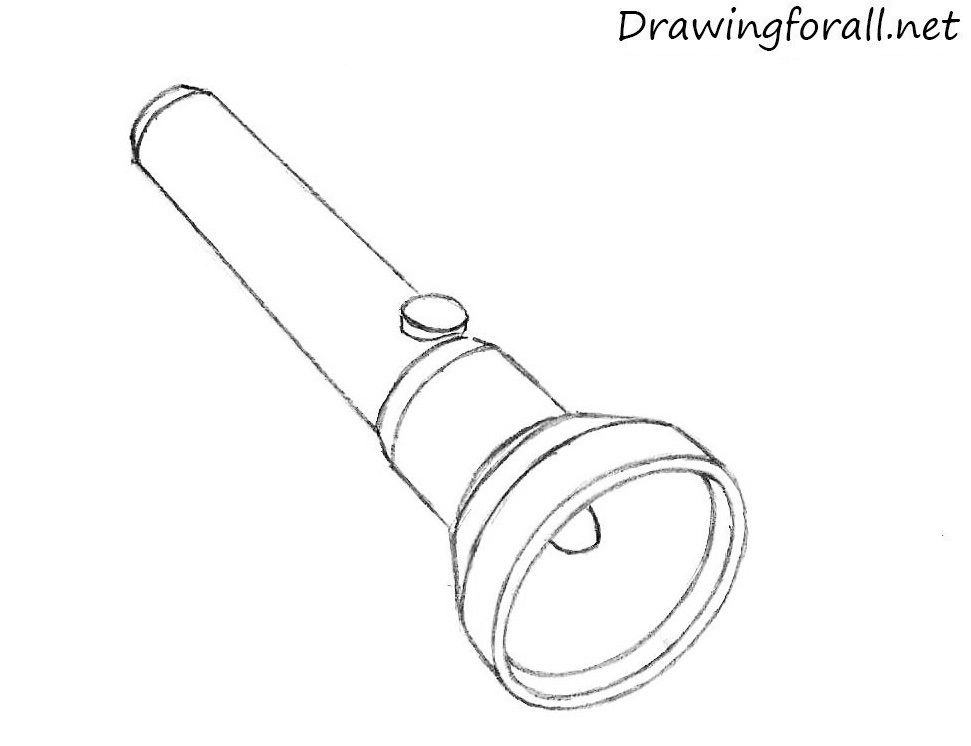
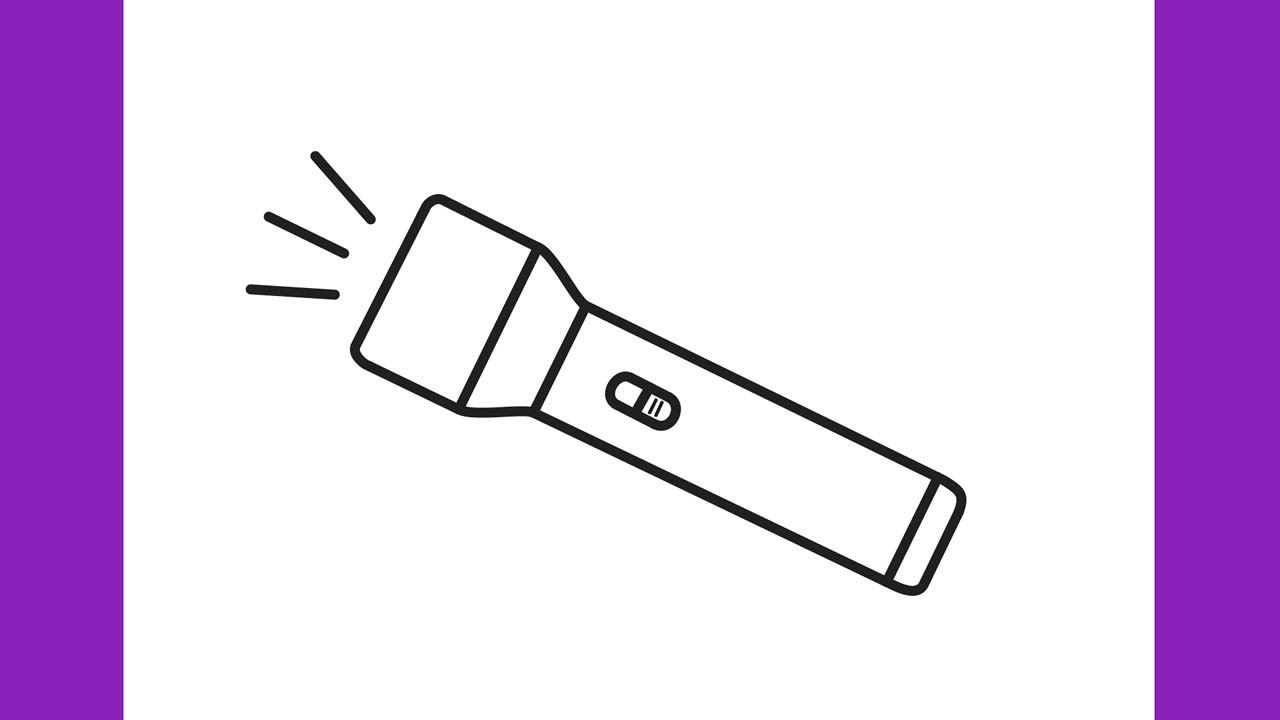
How To Draw A Flashlight - Web use dark, saturate strokes on the lower right edges to suggest shadows. You can also give it slightly rounded corners on the forward facing. Check that your shading matches the forms. You can choose one of the tutorials below or send us a request of your favorite character and we'll do our best to create an easy step by step drawing lesson for you. Start by sketching a basic outline of the flashlight. Sketch the protruding part of the flashlight body, which connects to the wide part in which the lamp is located. In this video, i cover how to set up and sketch a simple cylindrical form, a flashlight, on a page and show you how to use mark. Once you know how to handle hard lighting, it will be much easier to work with ambient lighting. We draw opaque subjects all the time: Draw a circular shape at the top, to serve as the bulb. Check that your shading matches the forms. Add lines on the handle of the flashlight. I now use a hard line and add slight angles to the circle, to represent more accurately the shape of the apple. Use slashes to add textures. When you’re first starting you just need to think of the three simple areas of the form: This looks like an arc connecting two points on the edge of the oval from the previous step. Here's a step by step build of a spirit glowball, casting an otherworldly green light into the night, using digital media. Web use dark, saturate strokes on the lower right edges to suggest shadows. Web the 3 areas of a form: Once you know how to handle hard lighting, it will be much easier to work with ambient lighting. This should include the handle, the lens, and the body of the flashlight. This tutorial shows the sketching and drawing steps from start to finish. Add reflective highlights along the very top ridges and edges facing the light. Remove the plastic sheet with your tracing, and lay it over a sheet of plain white paper. Opaque objects can be shiny. Lay the clear plastic sheet over your picture, and trace the outlines with a black ultra fine sharpie. Begin by drawing the front part of the head of the flashlight as shown above. Remove the plastic sheet with your tracing, and lay it over a sheet of plain white paper. Web draw the arc of the flashlight handle. Once you. This should include the handle, the lens, and the body of the flashlight. Add lines on the handle of the flashlight. Darken and smooth the lines. You can choose one of the tutorials below or send us a request of your favorite character and we'll do our best to create an easy step by step drawing lesson for you. Web. And then the shape of the highlight. Sketch the protruding part of the flashlight body, which connects to the wide part in which the lamp is located. Web learn how to draw flashlight, step by step video drawing tutorials for kids and adults. Lightly draw in the shape of the stalk. Now it’s time to add the details. You can also add shading and texture to make the. When you’re first starting you just need to think of the three simple areas of the form: The highlight is the lightest part where the light directly hits the object. Wooden furniture, pottery, walls, floors — the list goes on. This tutorial shows the sketching and drawing steps from start. Once you have the basic shape, you can add details such as the switch, the battery compartment, and the light bulb. We will paint the lighting as a hard light, as it is more obvious and easier to understand. Web illuminate your creativity with our youtube short tutorial on drawing a flashlight! This one looks weird because i've drawn an. You can also give it slightly rounded corners on the forward facing. Lightly draw in the shape of the stalk. Darken and smooth the lines. Web draw the arc of the flashlight handle. Notice how the ellipse cuts through the shape of the circle. Web lightly draw an ellipse shape to indicate the cast shadow. We draw opaque subjects all the time: I now use a hard line and add slight angles to the circle, to represent more accurately the shape of the apple. Darken and smooth the lines. Web learn how to draw flashlight, step by step video drawing tutorials for kids and. Darken and smooth the lines. Web to draw a flashlight, start with a cylinder shape, to serve as the body. Whether you're a beginner looking to learn how to draw or an experienced artist seeking to. Now it’s time to add the details. Remove the plastic sheet with your tracing, and lay it over a sheet of plain white paper. Once you have the basic shape, you can add details such as the switch, the battery compartment, and the light bulb. Web ellipses, ellipses, ellipses. Web let's draw a flashlight step by step. This tutorial shows the sketching and drawing steps from start to finish. Draw two lines down the side of the handle, one on each side. This looks like an arc connecting two points on the edge of the oval from the previous step. Today we will continue this series of lessons today we will continue this series of lessons and we show you how to draw a beet. Web let's draw a flashlight step by step. Web draw your own picture or find a one that you want to trace. This tutorial shows the sketching and drawing steps from start to finish. This one looks weird because i've drawn an orange light source emitting a green otherworldly light. Add reflective highlights along the very top ridges and edges facing the light. And then the shape of the highlight. Darken and smooth the lines. Lightly draw in the shape of the stalk. Web how to draw a beet. Draw a circular shape at the top, to serve as the bulb. Wooden furniture, pottery, walls, floors — the list goes on. Web now, using the oval draw the front part of the flashlight. Once you have the basic shape, you can add details such as the switch, the battery compartment, and the light bulb. Web the 3 areas of a form: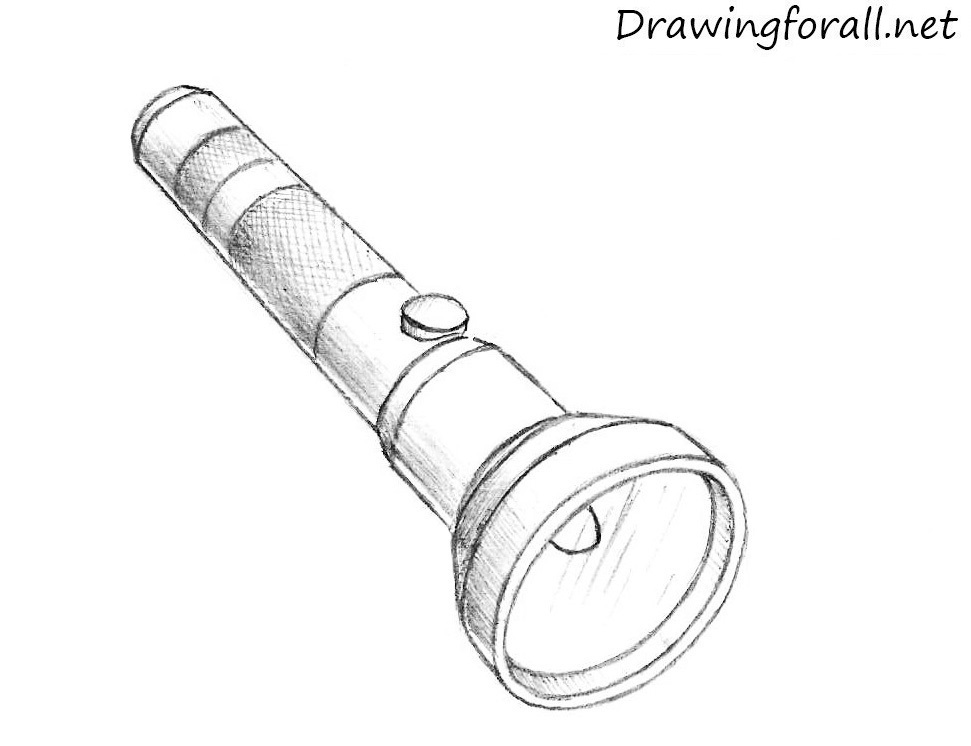
How to Draw a Flashlight

How to DRAW a FLASHLIGHT Easy Step by Step YouTube

Flashlight drawing How to draw Flashlight simply step by step
How to Draw a Flashlight for Kids

How to Draw a Flashlight YouTube
How to Draw a Flashlight
How to Draw a Flashlight
How to draw a flashlight YouTube

How to draw a flashlight YouTube
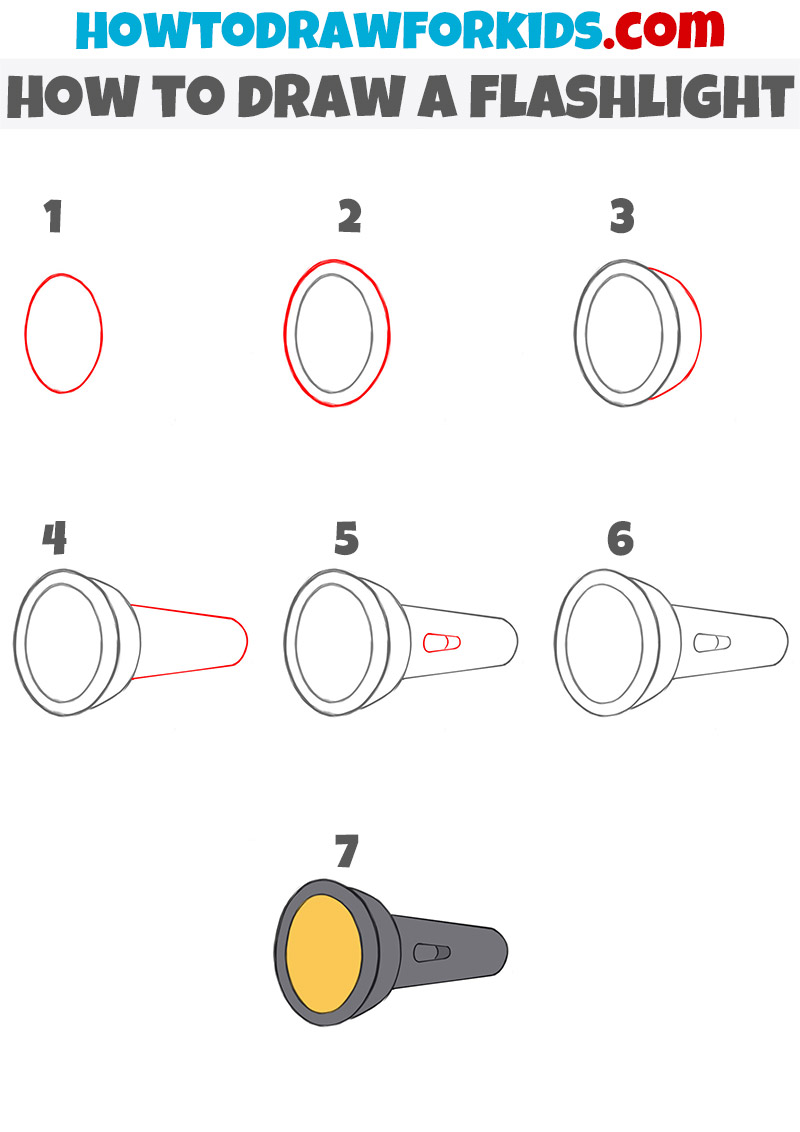
How to Draw a Flashlight Easy Drawing Tutorial for Kids
The Highlight Is The Lightest Part Where The Light Directly Hits The Object.
Web Learn How To Draw Flashlight, Step By Step Video Drawing Tutorials For Kids And Adults.
Whether You're A Beginner Looking To Learn How To Draw Or An Experienced Artist Seeking To.
Lay The Clear Plastic Sheet Over Your Picture, And Trace The Outlines With A Black Ultra Fine Sharpie.
Related Post: